Saturday, April 20, 2013

Almond Mango Shake

Summer will not complete without a shake, mango will be the best one for summer. But in our home there is no season for this mango shake even in winter, now it became my kid’s favorite too. To add a healthy touch added almonds this time even my husband didn’t realize it.


Ingredients:


Mango Pulp
1 cup
Milk
1 cup + ¼ cup
Sugar (optional)
2 tsp
Almond
2 Tbsp
Ice cubes
few


Directions:

  1. Soak almonds for 2 -3 hours, remove the skin and grind to smooth fine paste using ¼ cup of milk.
  2. Add this almond mixture, mango pulp, milk and ice cubes in a blender and blend until every thing is evenly mixed.
  3. If needed add more ice when serving.
 

Note:
I used tin mango pulp, you can use fresh mango also.


Friday, April 19, 2013

Almond Chutney / Badam Chutney


This is one of the simple side dish, if your kids don’t like to eat nuts feed them this way they can’t figure it out. It looks like coconut chutney but rich and healthy nuts are hidden inside. Most of them think nuts will add up fat but it contains good fat, taking them regularly is good for health. When following diabetic diets, adding nuts in your meal is good, you will not feel appetite for longtime since fat takes long time to digest this is been recommended by doctors too.

Ingredients:


Almonds
½ cup
Grated coconut
½ cup
Garlic pod
1 small
Dry red chili
1-2
Curry leaves
few
Salt
as per taste
Water
 
To Temper:
 
Oil
1 tsp
Mustard seeds
1 tsp
Asafetida
a pinch
Urad dhal
1 tsp
Curry leaves
Few
Dry red chili (optional)
1


Directions:

  1. Soak almonds with enough water for 2-3 hours, remove the skin and grind to course powder add coconut, chili, salt, curry leaves and garlic.
  2. Grind to course paste with enough water.
  3. Heat oil and splutter all the ingredients in the list and add to ground chutney.
  4. Serve it with idli, dosa, uppma or pongal.

Note:
  • Instead of soaking for 2-3 hours even you can microwave for 1-2 minutes.
  • You can reduce the coconut or even leave that, but you will feel a nutty taste and crunchy texture. Since we don’t like that texture I use to add coconut.
Sharing to:

Vendhaya Idli / Fenugreek Idli

Next recipe under seasonal theme is Vendhaya Idli or Fenugreek Idli. Fenugreek is good to reduce the body heat, and also it’s good for stomach upsets and a must for nursing moms. Especially for nursing mom’s they can take fenugreek in any format and as many they need. It’s also good for diabetes patients. This is my moms recipe, she leant this from her periya amma.

Ingredients:


Idli Rice
2 cups
Fenugreek seeds
1 Tbsp
Urad dal
2 tsp
Backing soda
¼ tsp
Salt
as per taste
Water


Directions:

  1. Soak urad dhal and fenugreek seeds together and rice in another bowl for about 6-7 hours.
  2. Grind urad dhal and fenugreek seeds together for about 10 – 15 minutes or until smooth and fluffy by adding water little by little.
  3. Grind rice separately to a smooth batter; finally mix both the batters by adding enough salt.
  4. Allow it to ferment for about 8 hours or overnight (as you do for regular idli batter for me it took 12 hours).
  5. After fermentation add backing soda and mix well. Grease the idli mold and pour enough batter in each mold and steam cook for 10 minutes.
  6. Serve it with any chutney or sambar.
 

Note:
  • The batter should be very thin like dosa batter. If your batter is thick then your idli will be hard.
  • Fill your idli mold ¾, idli will rise.
  • Better if you serve hot.
 

Thursday, April 18, 2013

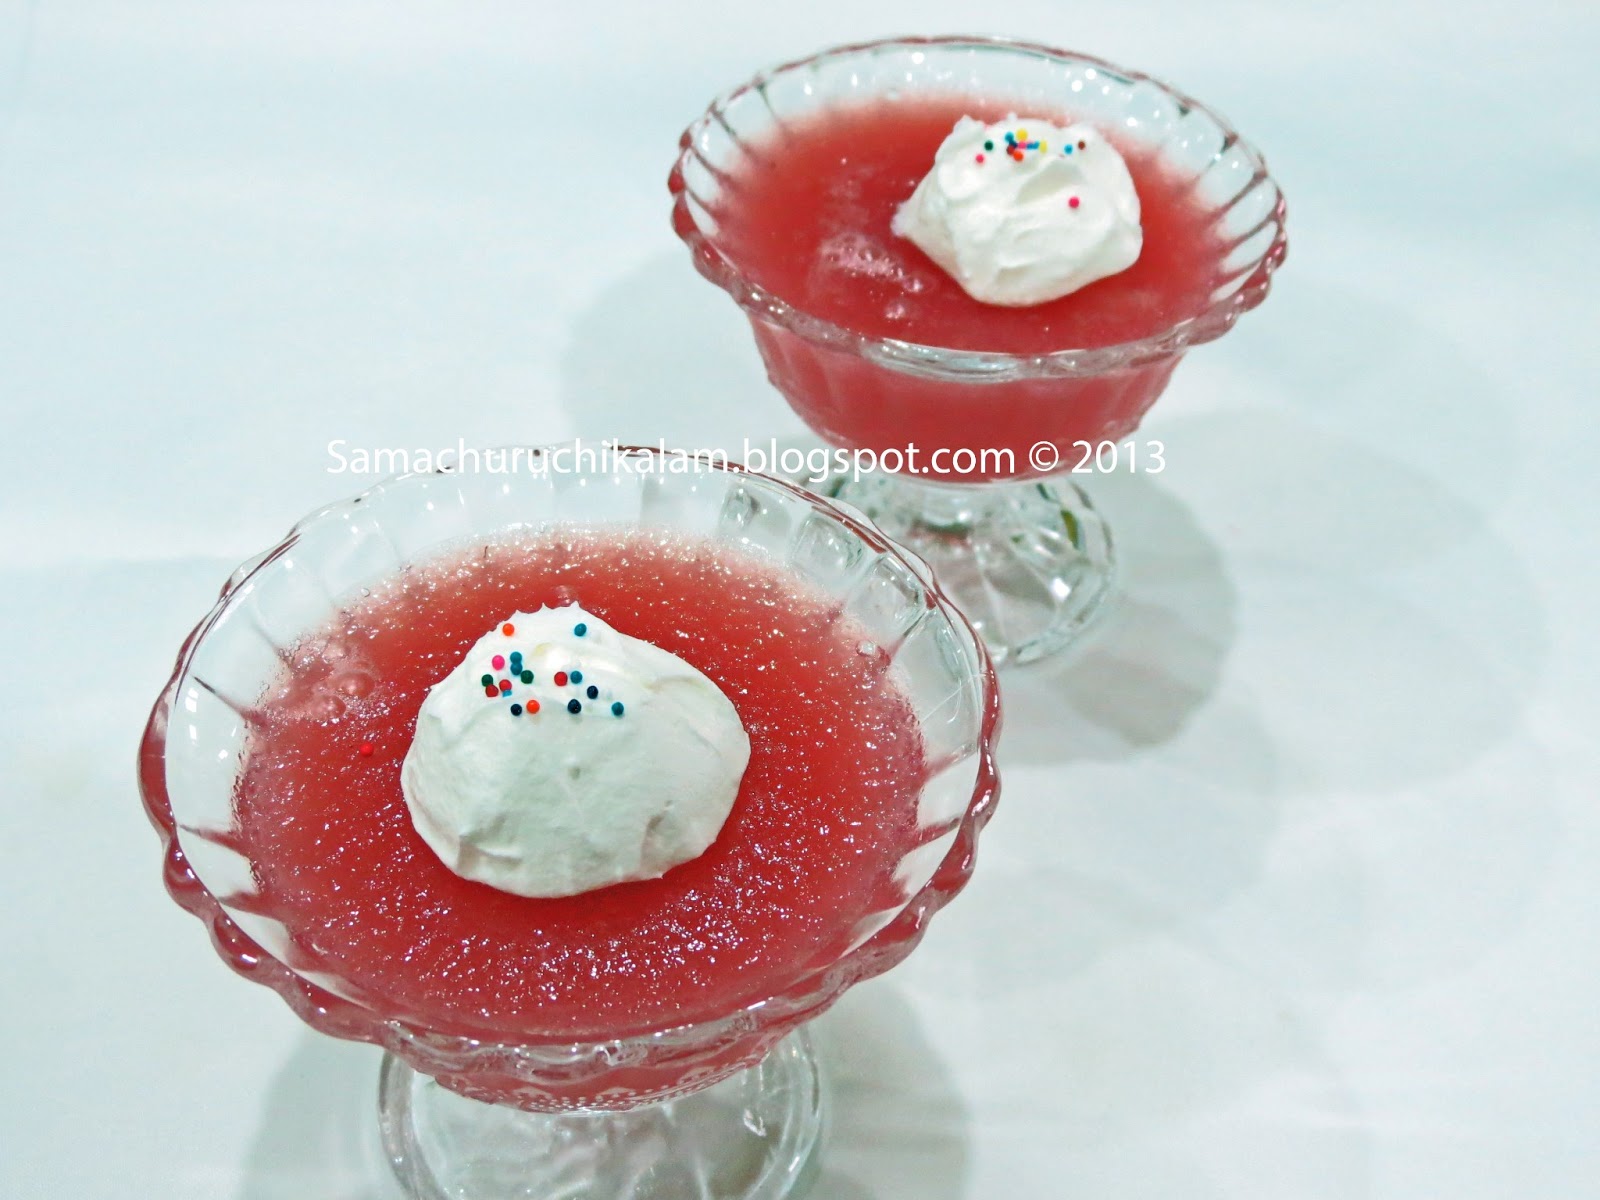
Homemade Strawberry Jello


Today’s recipe is also going to be kids friendly one. Recently my kids are crazy on jello, when ever we go for grocery shopping they pick their favorite color jello packs. I don’t want to buy those artificial flavors, hope most of the moms are like me. I use to tell them mommy will prepare it in home, for how many days I can say the same dialogue. In a stage we all got bored and ended up with this strawberry jello yesterday. After preparing this thought this is also a nice way to feed strawberry both of my kids love strawberries but hate to eat, still I was not able to satisfy one, she needs mango flavor. Again I prepared the next batch with mango this morning.


Ingredients:


Strawberry pure
¾ cups
Gelatin or Agar agar powder
1 ½ Tbsp
Sugar
¾ cup
Water
2 cups
Strawberry juice
½ cup


Directions:

  1. Clean and cut the strawberries, blend that in a mixe or blender and filter just to remove the seeds.
  2. In one cup cold water add gelatin and set aside for 10 minutes (stir it occasionally).
  3. Add sugar and strawberry juice to the pure and mix well, microwave this pure mixture for 30 seconds or warm it little bit (don’t boil just room temperature). 
  4. Boil another cup of water and add to gelatin mixture (make sure it is dissolved before adding boiling water).
  5. Pour in the strawberry mixture to gelatin mixture and mix well.
  6. Transfer to the serving bowl or any mold. And refrigerate for 1-2 hours.  
  7. Before serving run a sharp knife around the edges and place the mold in warm water for 20 seconds, and flip that in a plate.


Note:
  • Instead for strawberry you can use any other fruits. If you don’t have strawberry juice you can add apple or orange juice. I didn’t add juice but added a thin pure of strawberry.
  • For mango jello I used ½ cup of mango pulp and 1 cup mango passion fruit juice.
  • Adding sugar is your choice; since I used fresh fruit for strawberry jello I used ¾ cup sugar. But for mango I used only 4 tsp you will have sugar in juice, so try to adjust the sugar level.
 

Wednesday, April 17, 2013

Cantaloupe Mousse

Mousse one of the kids friendly food, one of my little one love to eat smooth textured food and cantaloupe is their favorite one. Cantaloupe is one of the most wanted fruit in our home, during the seasons. For the hot summer this chilled mousse will be best combination.

Ingredients:


Cantaloupe pure
1 cup
Sugar
3 Tbsp
Gelatine powder
1 tsp
Water
3 Tbsp
Cantaloupe finely chopped
½ cup
Whipped cream
1 ¼ cup


Directions:

  1. Cut the cantaloupe blend it in mixe or any blender and take one cup pure (I used ⅓ fruit for this).
  2. Add sugar and mix until it dissolve and let it rest in refrigerator for an hour.
  3. Sprinkle gelatine powder in water and mix well.  Double boil (heat water in a sauce pan, put the gelatine mixture bowl over the water) and cook until it dissolve and becomes thin watery.
  4. Add this to cantaloupe pure and mix well. In another large bowl add the chopped cantaloupe, whipped cream and pure mixture, gently mix them.
  5. Transfer the mouse in desired serving bowl and allow it to set for 1- 2 hours.
 

Note:
  • You can skip the chopped cantaloupe if you don’t like it.
  • I added a drop of orange food color, but you can skip and go with natural one.
  • For best result allow it to set for 4 hours.


Tuesday, April 16, 2013

Watermelon Kheer


Hello friends from today it’s going to be seasonal food theme in our BM group. Still yesterday night I was so confused to prepare dishes under this theme. Here officially spring is started but still feels like winter, in some place’s its already summer. Hope you might got why I am so confused. Finally today morning decided to stick with summer foods, even though few of my other seasonal foods are ready to post, I changed my mind.

Today its going to be watermelon kheer, one of the co blogger who’s running Magic Mingle Challenge each month announced watermelon and rice combination this month. I came across this combination of rice and watermelon  in a TV show (but not this recipe), I was wondering how it will taste? Now this announcement made me to try this wonderful recipe, I had tough time to find watermelon here couple days before only I found in store bought one and tried this.


Ingredients:

 
Basmati rice
¼ cup
Water
¾ cup
Watermelon juice
1 ½ cup
Coconut milk
3 Tbsp
Milk (optional)
¼ cup
Condensed milk
3 Tbsp
Cardamom powder
¼ tsp
Cashew nut
1 Tbsp
Ghee
1 tsp


Directions:

  1. Cut the watermelon, remove the seeds and dice into cubes. Now blend the cubes in a mixe or blender and strain the juice. Soak rice for 10 – 20 minutes.
  2. In heavy bottomed sauce pan, boil water and ½ cup of watermelon juice. When it starts to boil add rice and cook until it’s done.
  3. Reduce the heat and add condensed milk and coconut milk allow it to cook for another 2 minutes.
  4. Finally add the remaining watermelon juice and cardamom powder turn off the stove don’t allow for boiling.
  5. Heat ghee in another pan and roast the cashew nut and add to the kheer.
  6. Serve it warm or cold.
 

Note:
  • I didn’t add milk if you need you can add when you are adding watermelon juice at the end.
  • Instead of coconut milk you can also substitute milk.
  • If you are sweet toothed add more sugar or condensed milk.
  • This ratio yields 2 servings.
 
 
Link your Magic Mingle Entries here

Monday, April 15, 2013

Japanese Cheese Cake

This my second challenge in Baking Partners, first I need to thank Reeni and Swathi for choosing such a wonderful cheesecake for this month. Recipe source Dinna.

Ingredients:


Eggs
6
Powdered sugar
5 oz
Butter
2 oz
Cream cheese
9 oz
Milk
100ml
Lemon juice
1 tbsp
Cake flour
2 oz
Corn flour
1 oz
Salt
1 tsp


Directions:

  1. Separate egg yolk and white in two large bowls. Let it come to room temperature. Mix cornstarch, cake flour and salt set aside.
  2. Melt cream cheese and milk over a double boiler, when the cheese is almost melted add butter and mix well and remove from double boiler and allow it to cool completely.
  3. Mean while beat egg yolk well, add to the cooled cheese mixture. Fold in the flour mixture and lemon juice and mix well without lumps.
  4. Using a strainer filter the cheese and flour mixture and set aside.
  5. Whisk egg whites by adding sugar little by little until soft peaks form.
  6. Add egg whites to cheese mixture and fold well (Mix small amount at a time).
  7. Grease eight inch spring form pan, wrap the bottom with aluminum foil (two or three times this is to prevent leaking).
  8. Bake the mixture in waterbath (place the spring form pan in a large pan with 1 inch hot water) for 1 hour 10 – 20 minutes at 325°F or until golden brown on top.
  9. Allow it to cool and serve.
 

Tips:
  • I baked mine at 300ºF, oven temperature might vary, keep an eye while baking if your cake rise or turn brown very fast then you might reduce the temperature.
  • Before you take your cake out of the oven open your oven door half way for 10 – 15 minutes and then take it oven.
 
Linking to: