Showing posts with label Basics & Tips. Show all posts

Thursday, April 25, 2013

Cleaning Tips


Since this week is based on craft and misalliance, today I planned to post some useful cleaning tips. Even though this is food blog, I hope these tips will be more useful in our day today life.

I am going to share two tips, without using any chemicals, hope we all have these basic ingredients in our home. Yep it’s going to be lemon, baking soda and vinegar.

Here comes the first one, when we are using hard water for our cooking we can find a layer of salt (a white color) in the vessel as I shown in the picture. How to remove this?

 
Pour water in the vessel until it covers the layer and add ½ lemon peels or the outer skin which we trash after squeezing the juice, cover and boil the water for 10 minutes. If you feel it’s too thick add 1 tsp of vinegar and boil for another 5 minutes.

 
When using aluminum pressure cooker for steaming idli’s your cooker might be black after that you can follow the same process to clean or add quarter lemon pieces in water before steaming. Boiling the lemon without closing the lid helps to eliminate the odor also.
Next tip is about cleaning sliver things. As days go, silver will turn black when it’s exposed in air.
 
 
Wrap an aluminum foil inside any stainless steel vessel boil water in the same vessel, when water is boiling add 2 teaspoon of baking soda and turn off the stove add the silver things one by one and immerse in the water for couple minutes, remove and rinse in tap water, if its still black again repeat the process. Once it’s done, rinse in tap water and wipe with clean cloth.


Sunday, March 10, 2013

Homemade Paneer


For second week of BM 26, I choose cooking from book. Hope you will be thinking it’s a easy topic but srivalli gave a twist, which made most of us to scratch the head. Here is the twist, from any three book, pick one ingredient and cook three different combination.

I choose paneer as my ingredient and combination are Basic, Rice and Indian sweet. Today it’s going to be basic, home made paneer. I haven’t tried paneer using curd, this is my first time it smelled awesome. Recipe source is Mrs S. Mallika Badrinath.

Ingredients:


Milk
1 litre
Fresh curd
1 cup


Directions:

  1. Heat milk in a heavy bottomed vessel; keep stirring occasionally to avoid burning. When it starts to boiling, add curd and reduce the flame. Gentle stir the milk once or twice, when the milk curdles completely and water separated, remove from heat.
  2. Cool for 5 minutes and strain through a muslin cloth or pour it over a sieve. Hand the muslin cloth till all water drains by itself (half hour).
  3. Don’t squeeze, put this on a flat plate with cloth, press with another plate and put a heavy weight on top of it.
  4. After one hour remove the weight and take the paneer out of the cloth and cut into desired shape.
  5. The water which is drained from milk is called “whey” which is very nutritious, can be used in gravies and for roti dough’s.
Tips:
  • Instead of curd you can use 2 Tablespoons lemon juice with 2 Tablespoons water to dilute it. Wash the paner in running water before hanging it. This is to remove the lemon smell. If you skip this step it will reflect in your dish.
  • If your using this paneer to make sweet don’t put weight on the paneer after the water is drained by itself, gently squeeze once or twice and use accordingly.
  • When shallow frying heat oil moderately, no smoke should be seen.
  • After frying, plunge it to warm water until it is required, this helps to keep the paneer soft.
  • Most of the paneer used gravies, it should be added before removing from heat, if the gravy is boiled after adding paneer then it will lose its shape.


Sharing to:

Thursday, January 10, 2013

Homemade Ghee


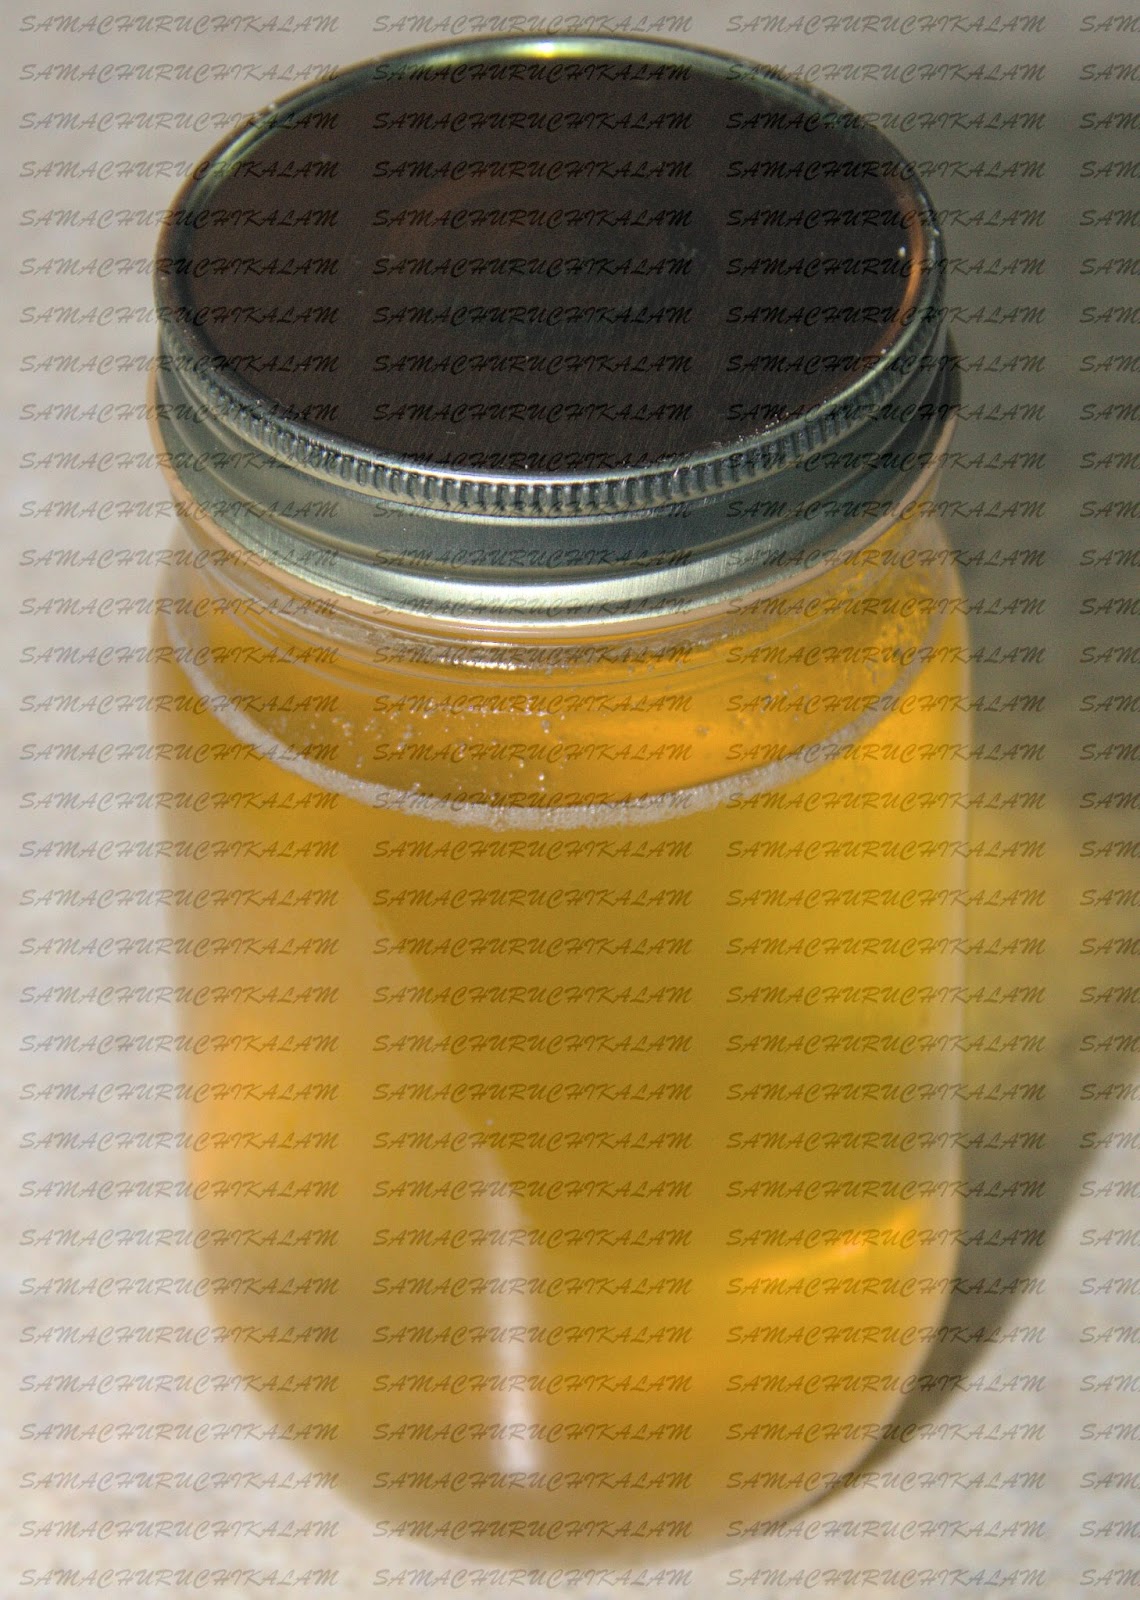
Ghee is clarified butter. It’s mainly used for Indian Sweets and frying. It is also used in ayurvedic medicine. Taking ghee 1-2 teaspoons a day is good. Mainly we use to add this for kid’s meal even it helps for digestion and gain weight. My mom and grandma always prepare butter and ghee in home. After my marriage I missed that a lot even though I get from store it’s different from home made. When my mom was here I learned how to make ghee. Thanks Mom. I thought of sharing this here for those who miss this. It’s less expensive too.

Ingredients:


Butter
1 lbs
Salt
A pinch
Dry ginger powder
¼ tsp


Direction:


  • Clean the butter (Just rinse in water couple times). In USA we are getting good quality so you might skip this step.
  • Put butter in a kadai and heat on medium flame. Butter will start’s to melt and form a foam. As shown in picture.
 
 
You will be hearing the boiling sound during this stage, keep on string occasionally. After couple minutes the foam will start to disappear, still you will hear the sound.
 

It’s almost done, keep other ingredients besides you. In few minutes the sound will also gradually stop. And again a foam forms on the top. In this stage a nice aroma will come. You can see light brown milk solids in bottom.
 
Take a pinch of salt and ¼ tsp water and sprinkle it on the foam and turn off the stove (You want to be fast in this step or else your ghee will turn dark).Take it out of the stove and add curry leaves or  ¼ tsp of dry ginger or drumstick leaves. It increases the aroma.
 
 
Allow it to cool and filter the solid particles and store in a container and it stays good for more than a month.


Tip:

You can store the filtered solid particles and use that for rasam, pongal, etc..

Thanks for such a nice opportunity to thank my mom purevegetarianbites